
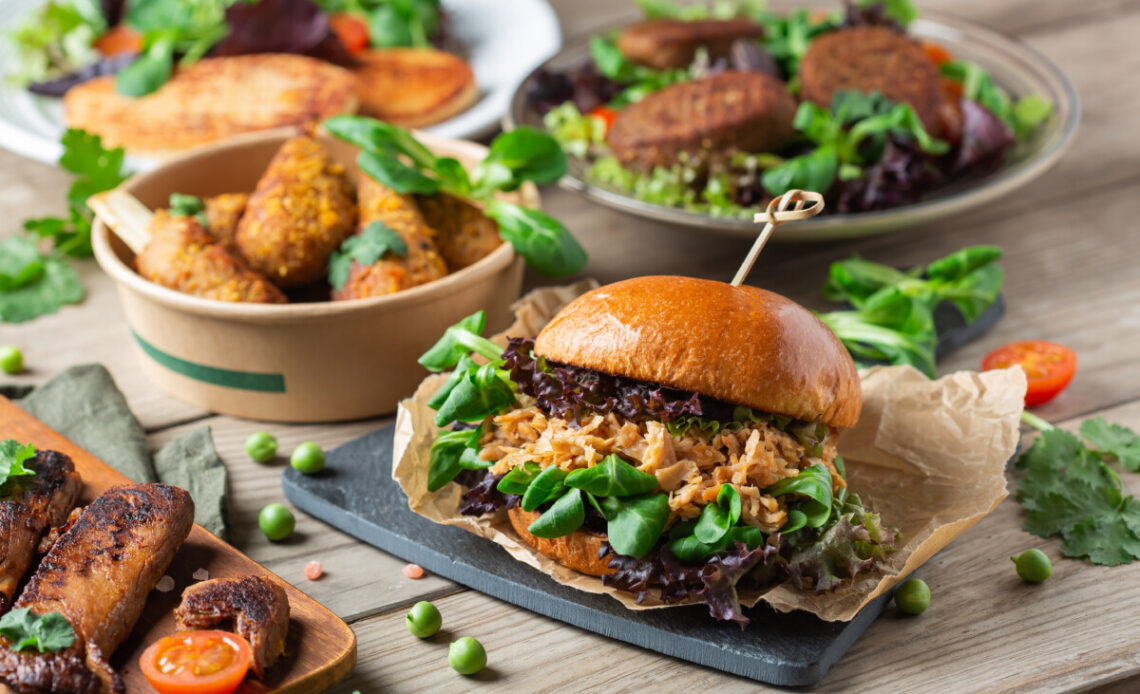
Moving to the French countryside means trading convenience for freshness, and that’s especially true when it comes to plant-based eating. With fewer stores stocking pre-made veggie burgers, making your own is not just a solution: it’s an opportunity. Homemade plant-based burgers are healthier, more customizable, and often tastier than store-bought versions. Plus, they let you make the most of local, seasonal ingredients.
Whether you’re a long-time vegetarian, flexitarian, or just curious, this guide will walk you through everything you need to know to create delicious, satisfying plant-based burgers at home.
Why make your own?
- Control over the ingredients: No mystery additives, preservatives, or excessive salt.
- Customizable flavors: Tailor each burger to your taste or what’s in season.
- Sustainable: Reduce packaging waste and support local farmers by using fresh, regional produce.
- Budget-friendly: Beans, lentils, and grains are inexpensive and shelf-stable.
Essential ingredients
Base components
Every great plant-based burger starts with a mix of these elements:
- Protein: Beans (chickpeas, black beans, kidney beans), lentils, or tofu.
- Grains/Starches: Oats, quinoa, rice, or breadcrumbs for texture and binding.
- Vegetables: Carrots, beets, mushrooms, onions, or zucchini for moisture and flavor.
- Binders: Flaxseed, chia seeds, mashed potato, or egg substitutes to hold everything together.
Flavor boosters
- Herbs & spices: Cumin, paprika, garlic powder, onion powder, thyme, or rosemary.
- Umami: Soy sauce, tamari, miso paste, or nutritional yeast.
- Freshness: Parsley, cilantro, or chives.
Local twist
Use what’s abundant in your area: chestnuts, walnuts, or seasonal vegetables like pumpkin or leeks.
Equipment you’ll need
- Food processor (optional, but helpful for smooth textures)
- Mixing bowls
- Frying pan or baking sheet
- Spatula
- Parchment paper (for baking)
Step-by-step process
1. Choose your base
Pick your main protein (beans, lentils, or grains). If using canned beans, drain and rinse well. For dried beans, cook until soft.
2. Add the vegetables
Finely chop or grate vegetables like onions, carrots, or mushrooms. Sautéing them first removes excess moisture and deepens the flavor.
3. Bind it together
Combine your base and vegetables with a binder (flax egg, breadcrumbs, or mashed potato). The mixture should hold together when pressed but not be too wet or dry.
4. Season well
Add spices, herbs, and umami-rich ingredients. Taste the mixture and adjust as needed.
5. Shape and chill
Form into patties. If the mixture feels loose, chill for 30 minutes to firm up.
6. Cook your way
- Pan-fry: Crispy outside, tender inside.
- Bake: Healthier, hands-off method.
- Grill: For a smoky flavor (use a grill mat or well-oiled grate to prevent sticking).
Tips for success
- Texture matters: Aim for a balance between mashed and whole ingredients for the best texture.
- Moisture control: Squeeze out excess water from grated vegetables to prevent soggy patties.
- Rest before cooking: Letting patties rest in the fridge helps them hold together.
- Don’t overflip: Cook each side thoroughly before turning to avoid crumbling.
Serving suggestions
- Buns: Whole grain, sourdough, or gluten-free.
- Toppings: Avocado, caramelized onions, pickles, or local cheeses (for lacto-vegetarians).
- Sauces: Homemade mayo, mustard, pesto, or yogurt-based dressings.
- Sides: Salad, roasted potatoes, or seasonal vegetables.
Troubleshooting common issues
| Problem | Solution |
|---|---|
| Patties fall apart | Add more binder or chill the mixture longer. |
| Patties are too dry | Add a bit of water, mashed bean, or grated veg. |
| Patties are too wet | Add more breadcrumbs or oats. |
| Patties stick to the pan | Use more oil or a non-stick surface. |
| Bland flavor | Boost with more spices, herbs, or umami. |
Storage tips
Uncooked patties can be stored in an airtight container in the fridge for up to 2 days, or frozen for up to 3 months. Just separate layers with parchment paper to prevent sticking.
Cooked burgers keep in the fridge for 3–4 days or in the freezer for 1–2 months. To reheat, thaw in the fridge overnight (if frozen) and warm in a pan or oven until heated through. For best results, avoid microwaving, as it can make the texture soggy.
Making plant-based burgers at home is a rewarding way to enjoy delicious, nutritious meals, no matter where you live. With a little practice, you’ll be whipping up burgers that rival any store-bought version, and you might even start a new tradition with friends and family.
Ready to get started?

